Why Posing Matters
Posing is not about manufacturing an artificial look — it is about removing the awkwardness that cameras introduce and helping someone present themselves the way they naturally would when they feel comfortable. Most people do not know what to do with their body when a camera is pointed at them, and the result reads on their face and in their posture.
A photographer who can direct confidently and specifically — not vaguely, not with hesitation — makes subjects feel held rather than scrutinized. That confidence translates directly into better images.
Starting Position
Standing directly facing the camera is the least flattering starting point for most subjects. A few baseline adjustments improve almost every portrait:
- Angle the body: Turn the subject so their shoulders are at roughly 30–45 degrees to the camera. This narrows the apparent width of the torso, adds dimension, and breaks the static, passport-photo quality of a straight-on stance.
- Shift weight: Ask them to shift their weight onto one foot. This naturally drops one hip, creates a slight lean, and loosens the rigid vertical stance most people default to.
- Soften the knees: A small, barely perceptible bend at the knees prevents the locked-leg posture that reads as tense even in a cropped portrait.
Hands and Arms
Hands are one of the first things to reveal discomfort. Dangling hands, rigid fists, or hands pressed flat against the body all signal tension. Useful guidance:
- One hand in a pocket removes half the problem immediately. It also creates a slightly asymmetric arm angle that looks natural.
- Hands touching a surface — a wall, a railing, the subject's own collar — gives them something to do and produces a natural grip rather than a forced hold.
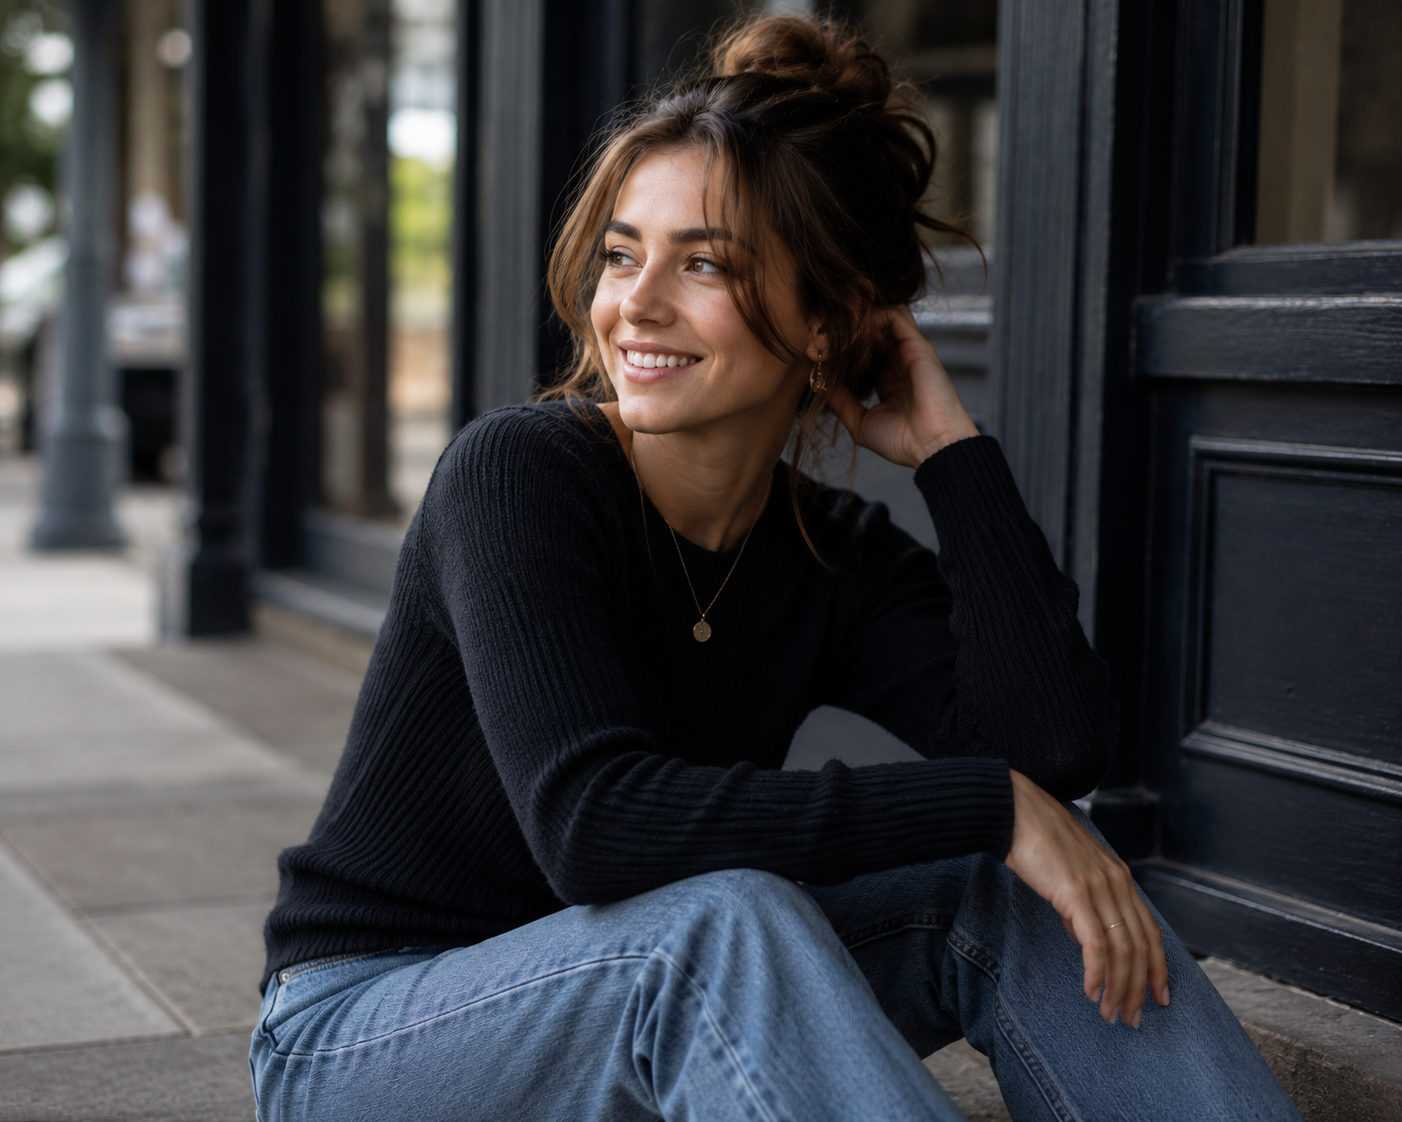
- For seated subjects, resting forearms on the knees or thighs keeps hands visible without tension.
- When hands are visible, photograph them at an angle so you see the side rather than the flat back — fingers appear slimmer and more natural from the side.
Head Position and Chin Angle
Head position has a disproportionate effect on how flattering a portrait looks. The chin angle alone can change the apparent jawline, neck length, and overall energy of an image.
- Chin slightly forward and down: Moving the chin forward elongates the neck and defines the jawline. The common instruction is to "push your forehead slightly toward the camera" — this achieves the same result without making the subject feel like they are doing something odd.
- Avoid chin too high: Tilting the head back opens the nostrils to camera and shortens the face. It also signals defensiveness or arrogance in body language reading.
- Head tilt: A slight tilt toward the near shoulder softens a portrait. A slight tilt away from the light source adds dimension. Both feel natural; neither requires instruction more complicated than "tilt your head slightly."
Movement and Candid Direction
Some of the strongest portraits come from directed movement rather than static poses. Give subjects specific, simple actions and shoot continuously through them. The transitions between actions often produce better frames than the held positions.
Useful direction prompts:
- "Walk toward me slowly and look up when you reach me."
- "Look away, then look back at me."
- "Laugh like something just struck you as funny." (Genuine laughter often follows the forced attempt within two seconds.)
- "Adjust your jacket/hair/collar." The grooming action produces a natural hand position and drops self-consciousness briefly.
Group Posing Basics
Groups require more active direction because each person defaults to their own awkward stance simultaneously. Principles that work:
- Stagger heights so faces are not all at the same level. Use steps, seating, or different standing positions to create layers.
- Create physical connection between people — arm around a shoulder, leaning in slightly — so the group reads as a unit rather than individuals standing near each other.
- Direct the tallest person first, then build around them. This anchors the composition.
- Assign each person's position specifically. "You stand there, you go here" is more effective than "everyone arrange yourselves."
- Shoot quickly after arranging. Groups dissolve fast and comfort decreases with time.
What to Avoid
- Merging limbs: Arms pressed against the body disappear and look like stumps. Leave visible space between the arm and torso.
- Parallel limbs: Two arms at the same angle, two legs identically placed, looks rigid. Introduce asymmetry wherever possible.
- Cutting joints: Cropping at the wrist, elbow, knee, or ankle creates an amputated look. Crop between joints.
- Unflattering angles on faces: A front-facing, slightly elevated camera angle is almost universally flattering. Looking up at someone from below exaggerates the underside of the chin.
- Vague direction: "Just be natural" is not direction. Subjects need specific, actionable instruction. Vague prompts produce paralysis.
Frequently Asked Questions
What do I do when a subject looks stiff or uncomfortable?
Give them something to do physically — walk, look away and back, adjust their clothing, laugh at something. Movement breaks the freeze response that happens when people feel watched. Even ten seconds of activity produces more usable frames than ten seconds of holding still.
How do I tell someone what to do with their hands without it being awkward?
Be specific and casual. "Just rest your hand on your shoulder" or "put one hand in your pocket" is clearer and less self-conscious than "what should I do with my hands?" Give the instruction before raising your camera so they can settle into it naturally.
Does posing work the same for all body types?
The underlying principles are the same — angle the body, shift weight, avoid flat-on stances — but the specific adjustments differ. For example, angling the body away from camera reads differently across different frame sizes. Learn to read each subject individually rather than applying a template.
How do I handle group shots where everyone looks awkward?
Organize groups by height to create visual layers. Avoid a flat row — offset people so faces are at different heights. Give people something physical to do with each other (arms around shoulders, leaning in) rather than standing in parallel. Then shoot fast before the arrangement feels forced.
What is the difference between posing and directing?
Posing is placing someone in a specific position. Directing is guiding them through actions and reactions to capture authentic moments within a loose framework. The best portraits usually combine both — a structured starting position that leads to genuine movement or expression.